Deploying google cloud functions using Github actions
Cloud functions is a serverless platform for building event based microservices. You write small snippets of code and Google Cloud handles all infrastructure for you. For this article I assume you know all the perks of the cloud functions so we won’t talk about that.
This guide demonstrates how to install a simple cloud function using the google-github-actions/deploy-cloud-functions github action. For this guide we will deploy a very basic python app.
Prerequisites
In order to be able to deploy your cloud function you need to have a Google Cloud account. Google offers a free trial with a credit of 300$ to explore, no strings attached. You can sign up at console.cloud.google.com/freetrial.
If you already have a Google cloud environment and service account set up, you can head towards step 2.
Step 1 – Setting up the Google Cloud environment
Before our google environment is ready to deploy cloud functions, we need to configure a couple of things:
- we need a project and enable the Google Cloud Build API;
- create a service account so our Github action can authenticate with Google;
After creating a google account we automatically have a google project, this is the project we will use for this article.
1. Enabling the Cloud Build API
Navigate to the sidebar → APIs & Services → Library → search for “Cloud Build API” → enable. Cloud Build is a service that executes our builds on the Google Cloud Platform.
2. Creating a service account
Next we need to create a service account. Navigate to the sidebar → IAM & ADMIN → Service accounts. Select “create service account” and use the following details:
- Service account name: Github deployer
- Service account ID: leave blank
- Service account description: leave blank
Continue - give the service account the following roles:
- Cloud Functions Service Agent
- Cloud Functions Admin
You can skip the “grant users access” step.
3. Creating a service account key
Lastly we need to create a service account key. Visit the created service and open the “keys” tab. Create a new key with type “JSON”. Save the json key because we need to configure this as a Github secret.
That’s it for the Google console part for now.
Step 2 – Configuring the Github workflow
Within your repository, create a new file in the .github/workflows directory named deployer.yml
name: Deployment

# on commit push, run job
on: [ push ]

jobs:
  run:
    # worker runs on latest ubuntu
    runs-on: ubuntu-latest

    steps:
      # checkout to our repository so we have access to the source code
      - uses: actions/checkout@v2

      # the actual deployment to google
      - name: Cloud Functions Deploy
        uses: google-github-actions/deploy-cloud-functions@v0.1.2
        with:
          credentials: ${{ secrets.GCP_SA_KEY }}
          name: python-hello-world-cf
          description: Test python cloud function # nullable
          project_id: ${{ secrets.GCP_PROJECT_ID }}
          region: europe-west1
          source_dir: src
          # name of our function in our main.py file, defaults to the resource name suffix
          entry_point: hello_world
          # runtime to use for the function
          runtime: python39
          # the function execution timeout
          timeout: 60
          # the maximum number of instances for the function.
          max_instances: 1
          # optional configs, see google-cloud-actions/deploy-cloud-functions for full reference
          # list of key-value pairs to set as environment variables in the form KEY1=VALUE1,KEY2=VALUE2.
#       env_vars: # optional
There are two variables we need to configure within our Github repository secrets:
credentials- add a secret with keyGCP_SA_KEYand value is the service account key (string) saved in step 1.project_id- add a secret with keyGCP_PROJECT_ID. You can find your project id in the Google console platform by selecting the dropdown menu in the navbar. For me this isabiding-painkiller-67345
There’s a couple of other important values we configured in our workflow:
name- the name of our cloud function, this can be anything you wantregion- the region your cloud function should be deployed toentry_point- the name of the function in ourmain.pyfile which will be executed by Google. For us, it will behello_world(see step 3)source_dir- the location where our code lives; for us this will besrcruntime- the runtime of our cloud function. Since we deploy a python app we use python39 (python 3.9). However, Google provides quite a few runtimes such as go (go113), node (nodejs14) and a couple of others. Find all runtimes here.
Step 3 – Creating our Python app
Let’s create a very simple Python app which returns “hello world” when executed. For the Python runtime, the function’s
entrypoint must be defined in a Python source file named main.py.
Create a new file in the src directory named main.py
def hello_world(request):
    """
    Args:
        request (flask.Request): The request object
    Returns:
        The response text, or any set of values that can be turned into a
        Response object using `make_response`
    """
    return "Hello World!"
Note: Google decides what function it needs to execute based on the entry_point setting (see step 2). For me this
means my function should be called hello_world
We have a very basic application now. Lastly, time to deploy the app.
Step 4 – Deploying our cloud function
Github will run our deployment script as soon as we push a new commit to our repository, let’s do that. Head over to your github repository → actions. Here you can view the status of your actions. If they fail you can view the errors; if they succeed you see checks.
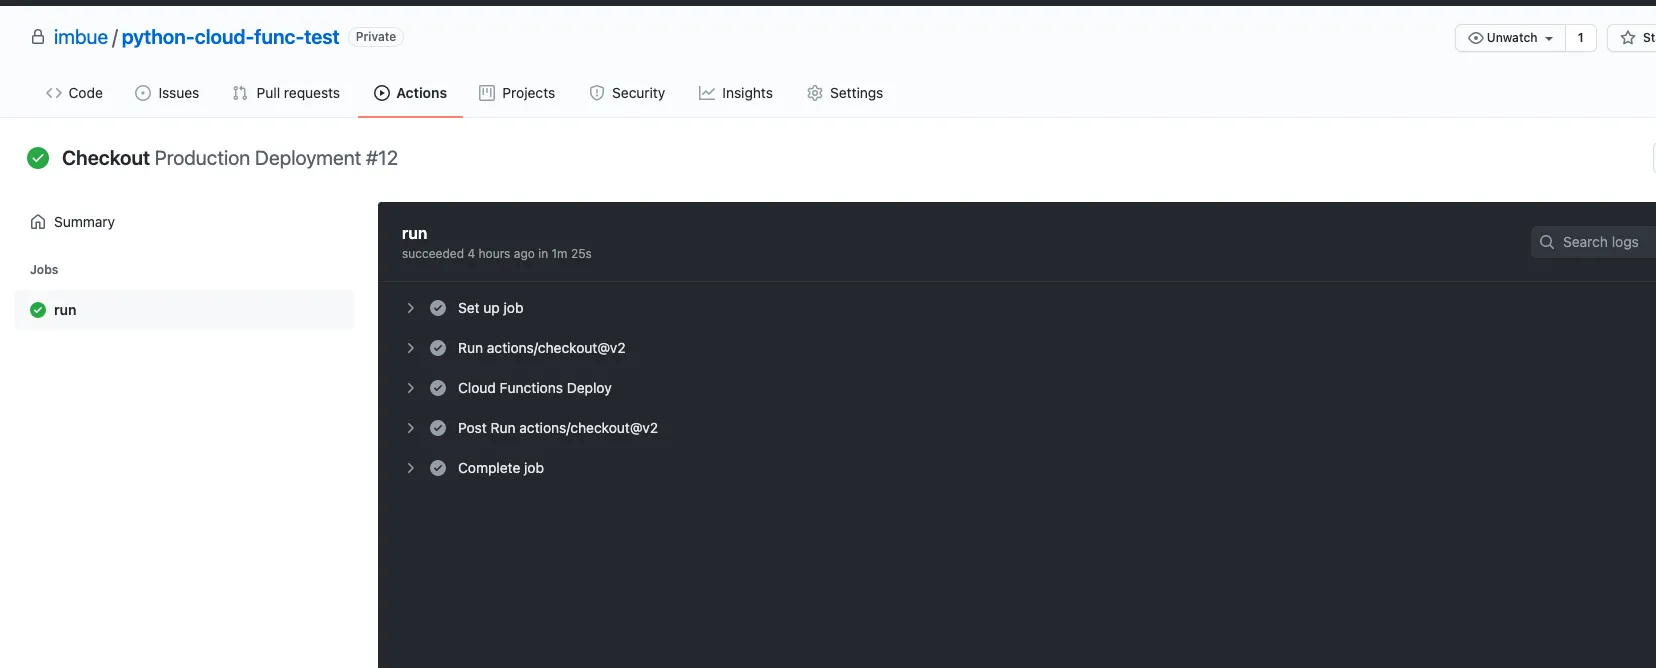
We have now deployed our app as a cloud function to the Google Cloud Platform. Within GCP head over to the cloud functions (sidebar → Cloud functions).

Step 5 – Running our cloud function
We deployed a HTTP based cloud function, this means our app is executed when a certain URL is pinged (the url can be found in the “trigger” tab). Google offers an elegant way to test your cloud functions. Select your cloud function from the cloud functions list view and navigate to the “testing” tab.
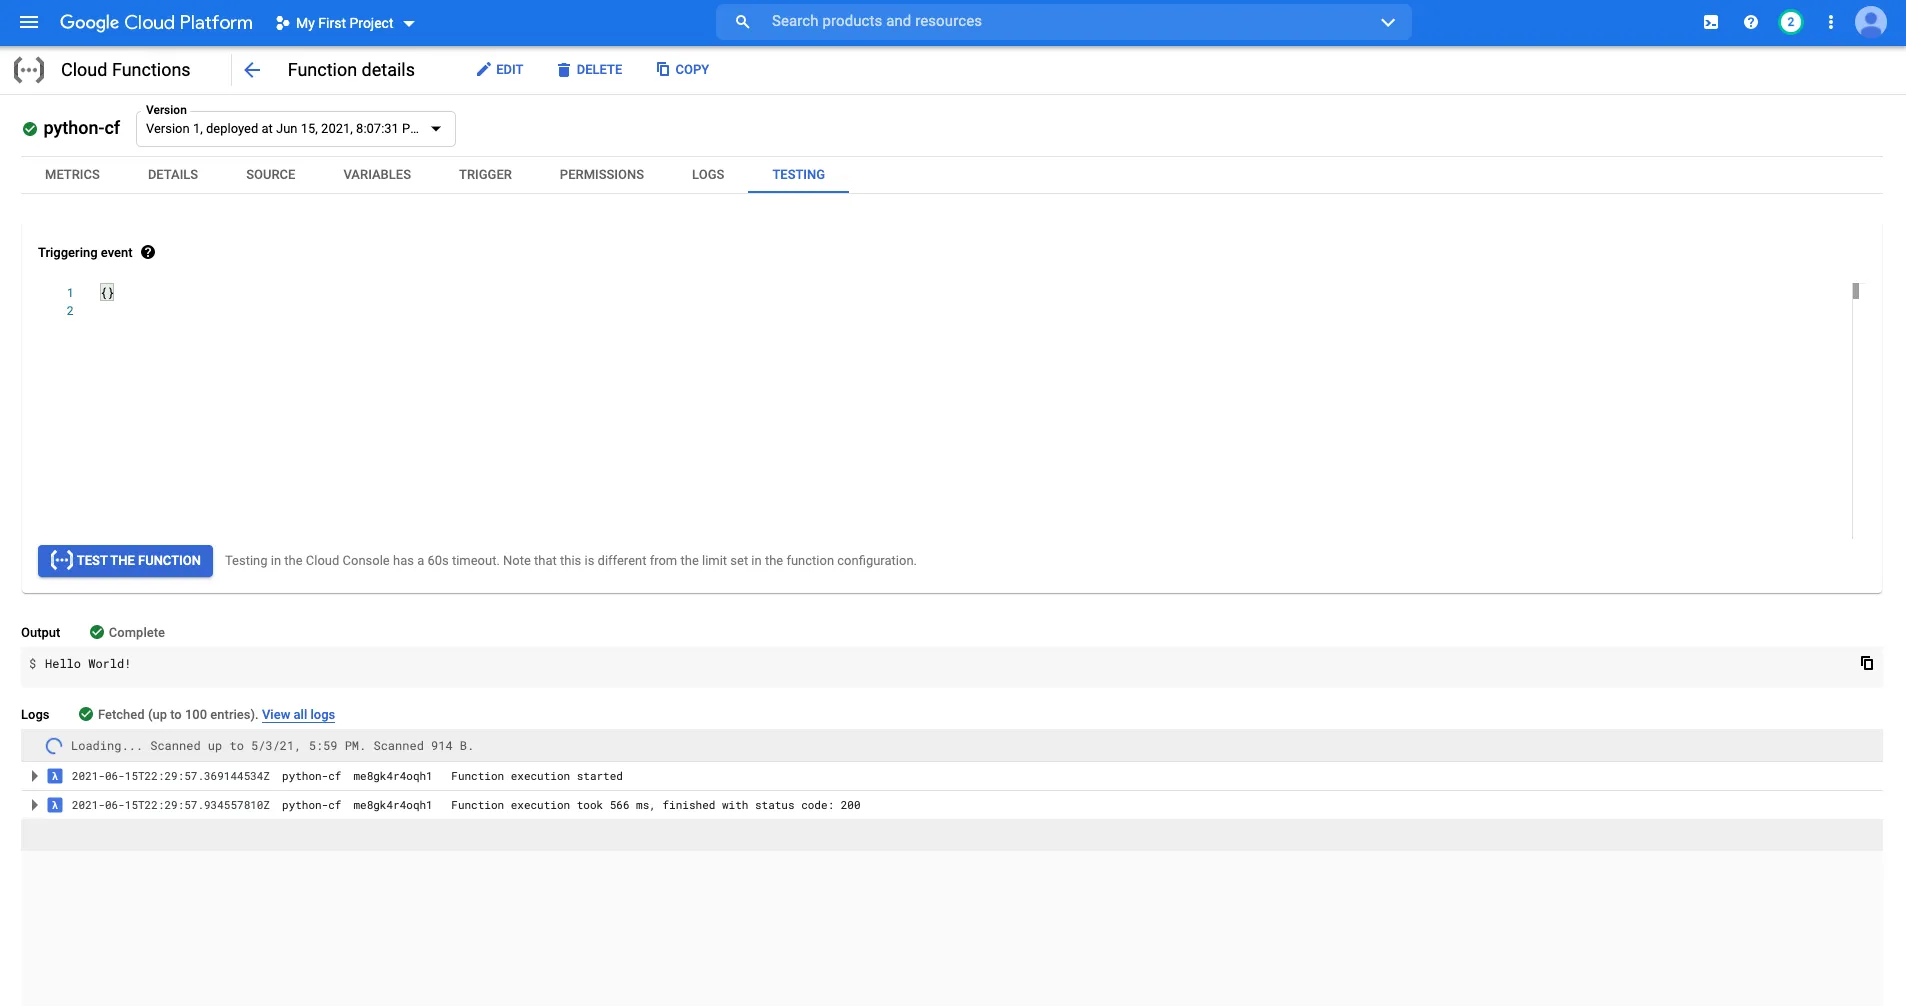
Voila – you now have your own working cloud function. At the bottom of the page you can view your output (Hello world) and logs such as execution time.
Conclusion
Developing & deploying cloud functions is actually pretty straight forward and very powerful. In this article we just showcase a very basic python application, but you can much more than this. Google supports a wide range of runtimes, as of today (06-2021):
- Node.js
- Python
- Go
- Java
- .NET
- Ruby
- PHP